
1·
2 days agoThe challenger/mustang/camaro pulled this off fairly well for a while. There have been others, like the Thunderbird, but they never sold well.
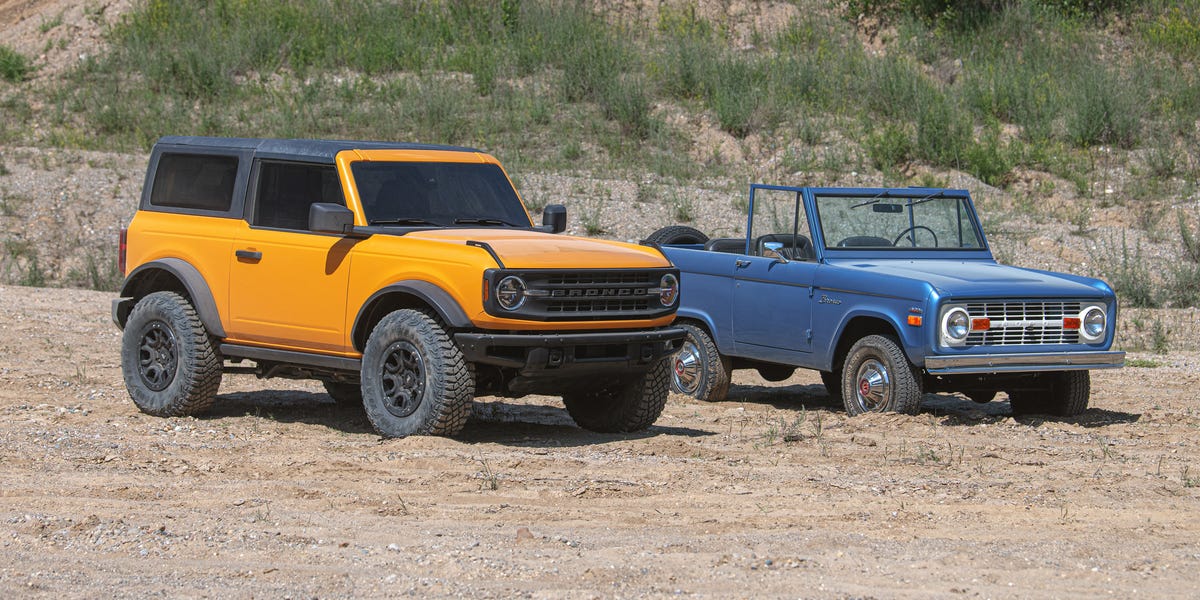
These days, if it’s not a crossover it seems like no one will buy it. I am blissfully unaware of interesting looking old SUVs, but surely one is out there. Maybe the bronco qualifies? Too bad it’s suffering from size and price inflation.


It was probably wrapped and not paint, likely cheaply if stainless was still visible in the door seams. Tesla offers it as a factory option and they call it “color paint film”.