

1·
16 hours agoPostscript:
I’m not entirely sure how to feel about this. Is it a “we did it, lemmy” moment, or should be so alarmed that info about this “brand” so scant that this is the best possible case scenario despite its absurdity?
If you just search for “HUAAO” on Google, now five of the first results within the images are from this very post.
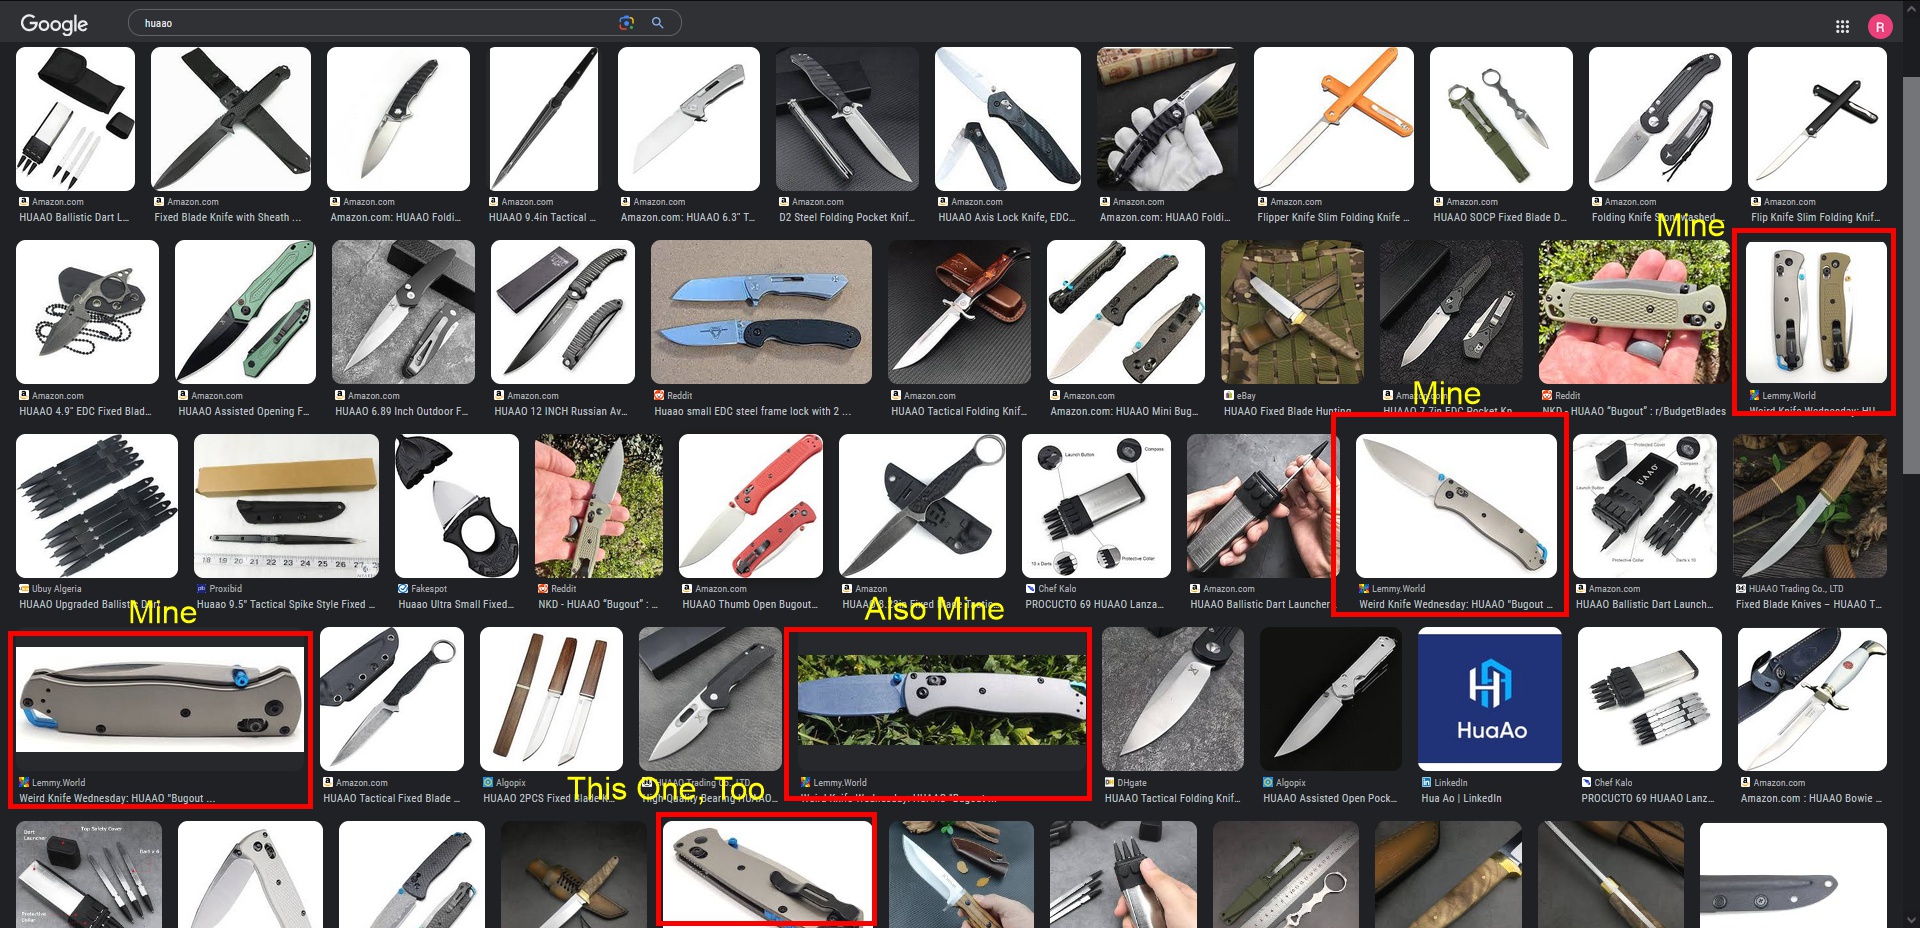
Only two of them are from the other place. Get fucked, Spez.


The author has, not unexpectedly, failed to make a crucial connection between these two points.
I can, and regularly do, skive off into the woods in such remote and otherwise inaccessible locations that I will see no one throughout my entire camping experience. This is possible in US. Despite our rigid NIMBY and private property philosophy, there are still available swathes of acreage where you can – gasp, horror – still legally wild camp completely away and isolated from any form of utilities whatsoever be they charging outlets, plumbing, or anything else. (In US National Forests, this is called “dispersed camping.” State lands may have different terminology and state-by-state regulations are less consistent.)
These are needless to say the best places left to go, because they’re the only ones not clogged with idiots in lifted Jeeps, yuppies with shrieking children in tow, teenagers blasting hip-hop out of Bluetooth speakers and smashing beer bottles on every available rock and stump, and overweight octogenarians loudly and perpetually complaining. Only dedicated backpackers and outdoors people will make it out there, and they don’t make a ruckus.